Moon Sweepers splitter: Factory Routing Guide
Plan a better Moon Sweepers splitter layout with practical routing tips, a two-catcher factory example, and fixes for uneven machine supply.
Why Splitter Layouts Matter for Your Factory
A crowded factory can look productive while its last machines wait for supplies. Your Moon Sweepers splitter layout matters because branching conveyors determines where incoming material goes—and a working connection does not guarantee consistent delivery. This guide explains how to plan a Moon Sweepers splitter network around a demonstrated player build without treating one successful factory as a universal production formula.
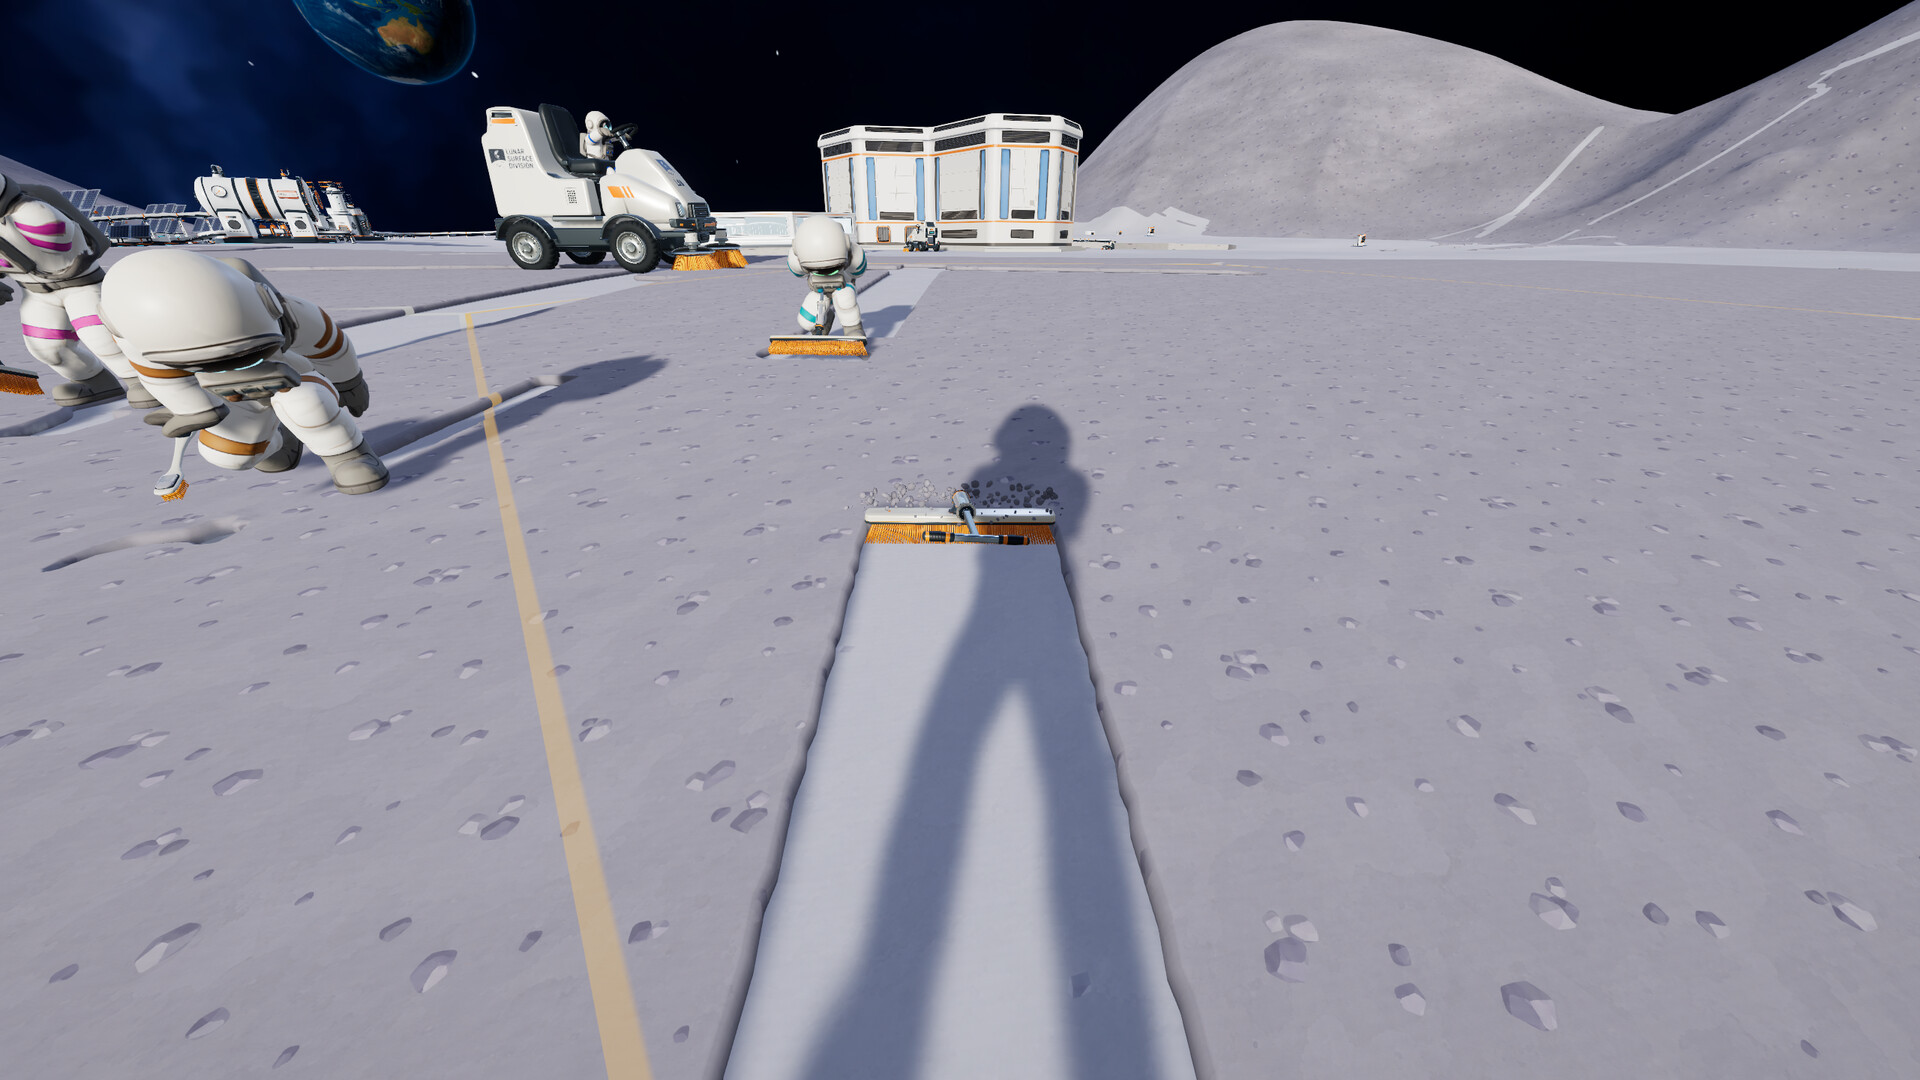
Official screenshot · Source: Steam store
The strongest takeaway is straightforward: start with readable routing, add branches gradually, and watch the machines at the far end of each line. Splitters help distribute supplies, but they do not remove conveyor bottlenecks or guarantee balanced output.
The practical example here comes from the community video demonstrating a two-capsule-catcher mega factory. Its results are player experience, not official specifications. For a storefront lookup, use Steam’s search for Moon Sweepers; the layout advice below is based on the supplied community demonstration rather than official documentation.
What the Community Build Actually Demonstrates
Before copying a large factory, separate what the player showed from what they suggested could be improved.
In the demonstrated setup, two capsule catchers supply separate production groups. One serves 12 stone presses, while the other serves four pressure chambers. The player describes the overall factory as automated and generally consistent, while acknowledging occasional interruptions and differences between machine readouts.
| Factory element | Reported setup | How to interpret it |
|---|---|---|
| Capsule catchers | Two total | A demonstrated arrangement, not a required starting size |
| Stone presses | 12 supplied by one catcher | A useful expansion reference, not a guaranteed ratio |
| Pressure chambers | Four supplied by the other catcher | The player suggests five would have been preferable |
| Junos | 26 present | Enough for that player’s reported setup |
| Production behavior | Generally consistent, with some hiccups | Automation did not mean perfectly equal machine performance |
The distinction between four and five pressure chambers matters. Four were operating in the described build; five were proposed as an improvement. The reference does not establish a tested five-chamber configuration or prove that it would eliminate supply variation.
Likewise, the player considers the factory close to what the catchers can handle in that arrangement. That is an assessment of one layout, not a verified maximum for every version or factory design.
What this means for splitter planning
A Moon Sweepers splitter network can support a sizable automated factory, but machine count alone does not explain success. Conveyor routing, branch placement, and the arrangement of the production groups all deserve attention.
Use the example to set a test target. Do not assume that placing the same number of buildings will reproduce the same output.
How to Build a Readable Splitter Layout
The community demonstration highlights placing splitters close together, described by the player as stacking them almost on top of one another. The player uses this approach to create several machine feeds while continuing a channel farther along the factory.
Because the transcript does not document exact ports, controls, or placement rules, treat this as a routing principle rather than a precise blueprint: group nearby branches where useful, but keep their connections understandable.
Step 1: Separate your production groups
Begin with distinct routes for the machines you want to supply. Following the demonstrated arrangement, you could keep the stone-press supply separate from the pressure-chamber supply.
This makes troubleshooting easier. When a machine pauses, you can trace its own route instead of untangling several overlapping production lines.
Step 2: Establish the main route before adding branches
Plan where supplies enter, where the first machine group sits, and where the line needs to continue. Leave room around branch points so you can inspect connections and revise the layout.
A compact factory is not automatically an efficient factory. If you cannot tell where a branch goes, even a small problem becomes harder to diagnose.
Step 3: Add a small group of machine feeds
The player describes a local arrangement serving three machines, with a channel continuing beyond that group. That is a useful planning pattern: supply nearby machines, preserve the onward route, then evaluate delivery before expanding.
It is not proof of any particular splitting ratio.
| Step | Action | What to check before continuing |
|---|---|---|
| 1 | Establish a main supply route | Material reaches the intended production area |
| 2 | Add a small branch group | Each intended machine receives supplies |
| 3 | Preserve the onward connection | Material still reaches the next section |
| 4 | Run the connected machines | Delivery remains reasonably consistent |
| 5 | Expand one group at a time | Earlier machines do not hide downstream shortages |
Step 4: Inspect the farthest machines
Do not judge a Moon Sweepers splitter layout only by the machines nearest the source. Check the end of the route, where delivery problems may be easier to spot.
Watch several delivery cycles rather than taking a single snapshot. A machine that happens to be supplied when you inspect it may still pause repeatedly over time.
Step 5: Expand only after the current section works
Add another production group once the existing section behaves acceptably. If performance changes after expansion, you have a smaller set of new connections to investigate.
This incremental method may take longer during construction, but it reduces guesswork when something goes wrong.
Compact Splitters vs. Clean Conveyor Routing
Close splitter placement can help organize local machine feeds, but the source player also warns against putting too many splitters together. Their factory works despite complicated routing, not because tangled conveyors are desirable.
The best Moon Sweepers splitter layout is therefore not necessarily the tightest one. Favor a design you can inspect, expand, and repair.
| Layout approach | Practical benefit | Main drawback | Best use |
|---|---|---|---|
| Closely grouped splitters | Keeps nearby branch points together | Connections become harder to follow when overused | Small, clearly defined machine groups |
| More widely spaced branches | Makes individual routes easier to inspect | Uses more room | Early builds and troubleshooting |
| Repeated machine groups | Makes sections easier to compare | Requires planning room for expansion | Gradual factory growth |
| Tangled cross-factory routing | Can connect awkwardly positioned buildings | Makes supply problems difficult to trace | A temporary solution rather than a design goal |
Keep routing simple before chasing symmetry
The player suggests that centering the pressure chambers might have reduced variation. They also identify tangled routing as another possible contributor.
Those are player-experience suggestions, not controlled findings. A centered layout is worth testing, but the source does not establish that equal distances or symmetrical placement guarantee equal output.
A sensible improvement order is:
- Remove unnecessary routing detours.
- Make each branch’s destination obvious.
- Keep comparable machine groups arranged consistently.
- Test whether repositioning a production group improves delivery.
- Compact the layout only after it works reliably.
Do not confuse branching with more supply
Adding another Moon Sweepers splitter creates another distribution point. It does not, by itself, demonstrate that more material can travel through the upstream route.
The source player identifies conveyor speed and splitting behavior as practical constraints in their factory. If the main route is already struggling to supply existing machines, extra branches may simply spread the shortage across more destinations.
Troubleshooting Uneven Supply and Output
The demonstrated factory had noticeably different machine readouts even though the player considered its overall operation successful. The transcript includes values ranging roughly from 137 to 232, but does not clearly establish their units or measurement period.
Those numbers show variation in that build. They should not be presented as production rates, efficiency percentages, or expected output targets.
When diagnosing your own Moon Sweepers splitter network, focus first on observable behavior: which machines receive supplies, which pause, and whether the problem changes after a layout adjustment.
| Symptom | What to investigate | Practical next step |
|---|---|---|
| Nearby machines run while distant ones pause | Branch sequence and downstream delivery | Trace the main route to its last machine |
| Several machines pause together | Shared upstream supply | Watch the route before its first branch |
| One group performs differently | Its connections and local arrangement | Compare it with a more consistent group |
| Problems appear after expansion | Newly added demand or routing changes | Revert the latest change and compare |
| The layout is difficult to inspect | Excessive branching or overlapping routes | Rebuild one section into a readable group |
Change one thing at a time
Moving machines, rebuilding branches, and adding capacity simultaneously makes it difficult to identify what helped.
Instead, use a simple comparison process:
- Observe the current layout over several delivery cycles.
- Note where machines pause or wait.
- Change one branch or machine-group position.
- Observe again under similar conditions.
- Keep the change only if it improves the problem you identified.
For example, if your first group runs consistently but the next group pauses, inspect the onward connection before rebuilding the entire factory. If every group pauses together, start upstream rather than adjusting individual machine feeds.
These are troubleshooting recommendations, not additional mechanics confirmed by the video.
Treat the two-catcher factory as a benchmark
The reported 12-stone-press setup is a useful goal for experimentation. Build toward it in stages rather than installing all 12 and assuming the distribution will work immediately.
The same caution applies to the reported 26 Junos. That count describes the player’s situation; it is not a documented staffing formula for every factory.
Reliable delivery is a better expansion signal than a matching building count. A smaller layout that runs consistently gives you a clearer foundation for testing additional machines.
FAQ: Moon Sweepers Splitter Layouts
Can you stack splitters in Moon Sweepers?
The community demonstration describes placing splitters very close together, almost on top of one another. The player uses this to organize nearby machine feeds, but warns against excessive stacking. Use close placement selectively and check that each connection remains easy to trace.
What is the best Moon Sweepers splitter layout?
The available reference does not establish one universally best design. A practical starting point is a readable main route with small branch groups and an onward connection for expansion. Test delivery at the farthest machines before adding more demand.
Can one capsule catcher supply 12 stone presses?
In the cited player experience, one capsule catcher supplies 12 stone presses with generally consistent operation and occasional hiccups. That demonstrates a working arrangement, but does not guarantee the same result with different routing or establish an official maximum.
Will adding more splitters fix machines that keep stopping?
Only if the problem is a missing or unsuitable distribution route. More splitters do not automatically fix limited upstream supply. First determine whether the interruption affects one branch, the end of the line, or the entire production group; then change the smallest relevant section.
Related Guides
Moon Sweepers automation: Factory and Vehicle Guide
Build a better Moon Sweepers automation loop with conveyor layouts, production ratios, solar power planning, and smarter vehicle upgrades.
Moon Sweepers carrying capacity: Upgrade Guide
Learn how Moon Sweepers carrying capacity upgrades fit into dust collection, depot deliveries, and smarter progression before launch.
Moon Sweepers cleaning tools: Upgrade Guide
Explore Moon Sweepers cleaning tools, the starting toothbrush, dust sales, capacity upgrades, and vehicle progression in this prerelease guide.
Moon Sweepers developer: DragDrop Games Launch Guide
Meet Moon Sweepers developer DragDrop Games and explore the October 23 Steam release, 16-player co-op, gameplay, and PC requirements.
Moon Sweepers co-op lobbies: 16-Player Guide
Explore Moon Sweepers co-op lobbies, the 16-player limit, cleaning progression, launch details, and practical tips for organizing your crew.